I know there are a ton of tutorials online for image transfer, but when I was making these, I couldn’t find a good technique that worked on rocks, or that had a perfect transfer. I also have a fondness for tutorials with lots of pretty pictures. No sports car images or poor quality images, thank you very much. Sorry, just saying….
Technically, a gel transfer is just a transfer of ink into the gel medium so that the majority of the paper can be removed, leaving only the image. Trying to glue the paper image directly into the rock could be done, but the rock would have to be pretty flat. Making a transfer image allows the image to curve with the rocks surface with very little wrinkling.
For this project, I used Golden matte medium because when I opened my trusty jar of regular gel medium, it was all gone (gasp!). I imagine that any acrylic clear medium would work as long as you apply the right amount of medium to the image. Also, this technique can be used for many different mixed media projects as well.
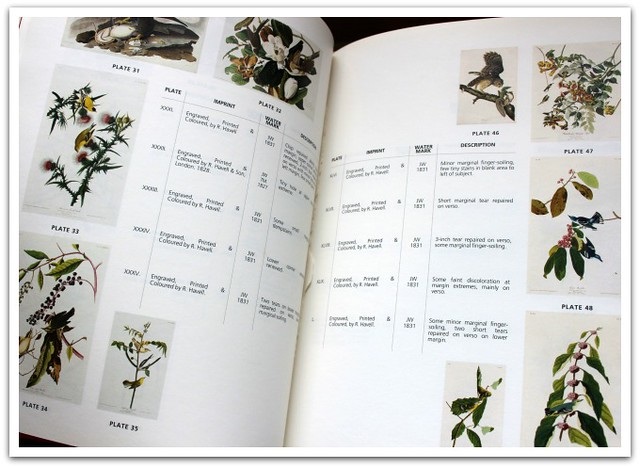
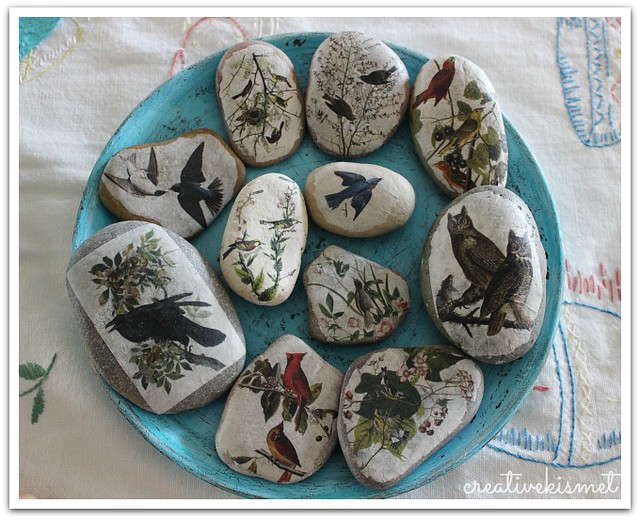
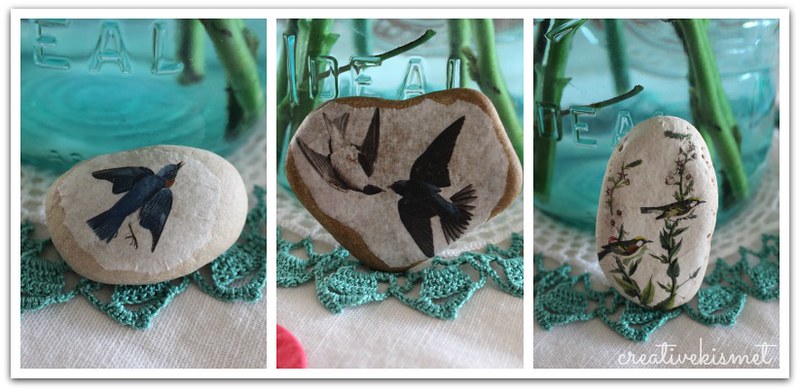
About the images: Inkjet images don’t really work well for this. Book or magazine images (that are not glossy) and laser images work best. I found my images from a book that I had thrifted ages ago. An incredibly lucky find. It’s a catalog featuring John James Audubon’s bird paintings, which are just beautiful. When choosing your own images, make sure there is a lot of contrast so that the image transfer is clear, and recognizable.
You’ll need: Matte medium or gel medium (heavy or regular), images of choice, rocks with smooth, flat-ish surface, scissors, paint brush, soft cloth and tray for water. Optional: heat gun and fine grit sandpaper.
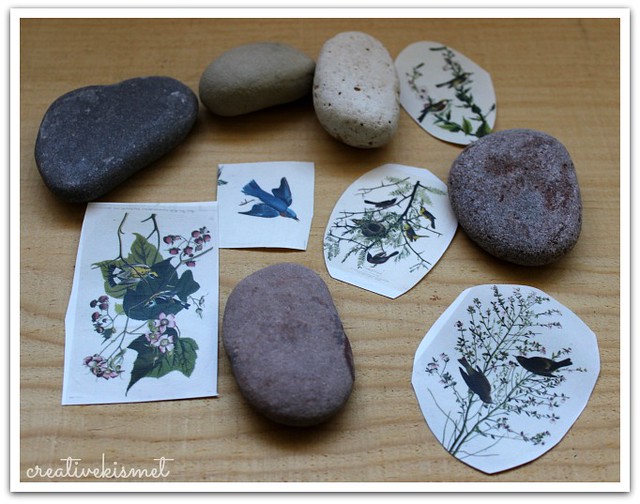
1. Prep rocks. Make sure they are free of dirt, sand, etc.
2. Cut out images keeping in mind the size of your rocks.
3. Cover the image side with 5-10 coats of medium. The more coats there are, the less likely the image will tear later. If you are using heavy gel medium, you could probably get away with using 3-5 coats. Allow to dry completely. (I used a heat gun during this stage to speed the torturous wait time between coats)

4. Put images into tray of water to soak for a 1-2 minutes. You can lightly sand the back of the image to allow water to soak through the paper faster. This is especially important if the paper is quite thick. Just soak the paper for a little longer if you don’t have any sandpaper. Matte/gel medium will become cloudy during soaking period.
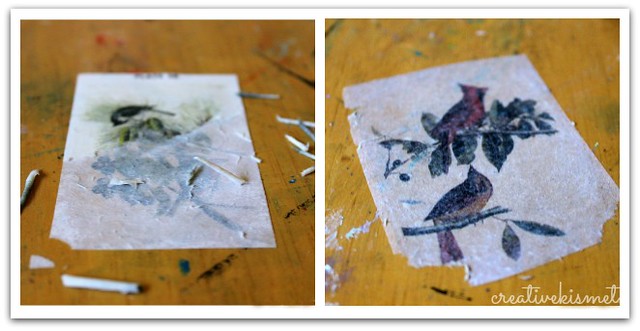
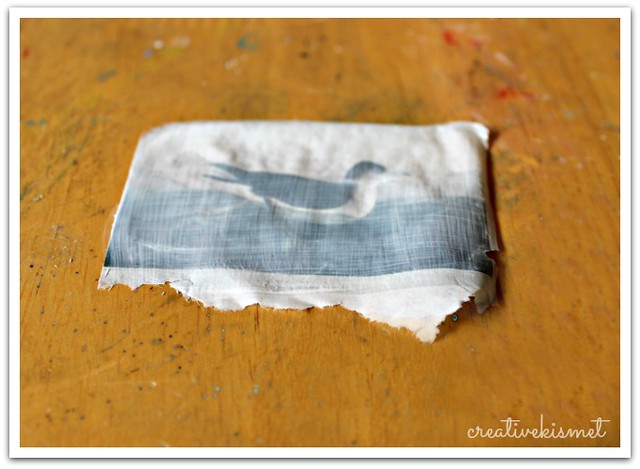
5. Once paper has become quite soft, lie image face (gel side) down onto a flat surface (glass or table top) and start to gently rub paper off with finger. Wipe with soft cloth to remove tiny bits of paper. Allow to dry.
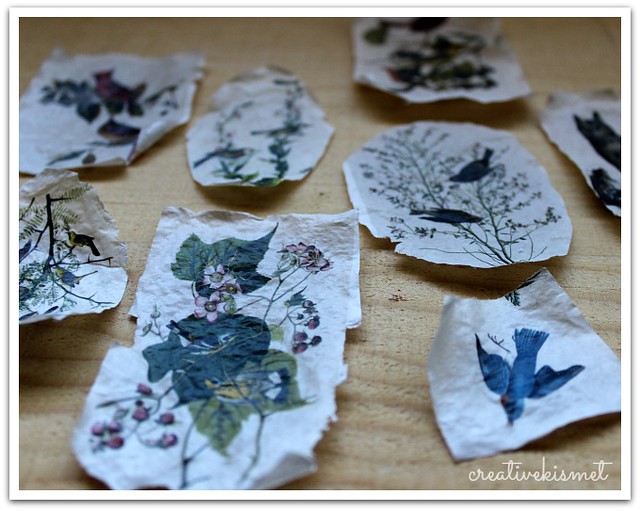
6. Now you will have a very thin almost tissue paper like image. It is actually much more flexible and durable than it looks. Trim images to fit the rock you have chosen.
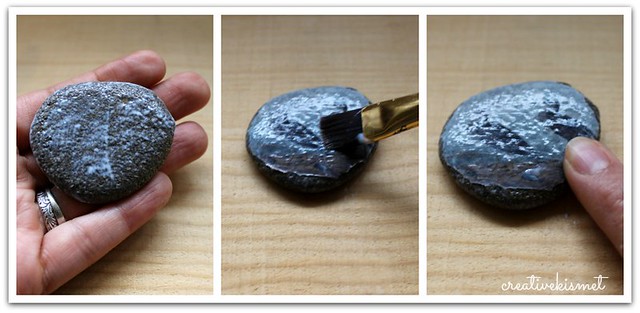
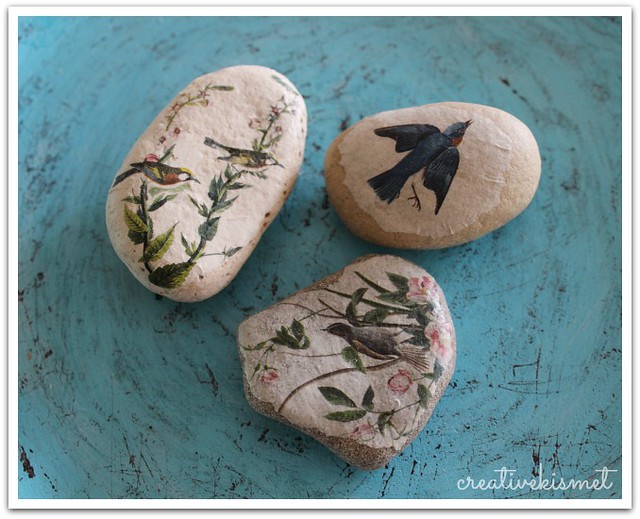
7. Using matte/gel medium, coat the top of the rock and apply image. Brush another coat onto the image, then gently use finger to securely press down all the edges and remove any bubbles.
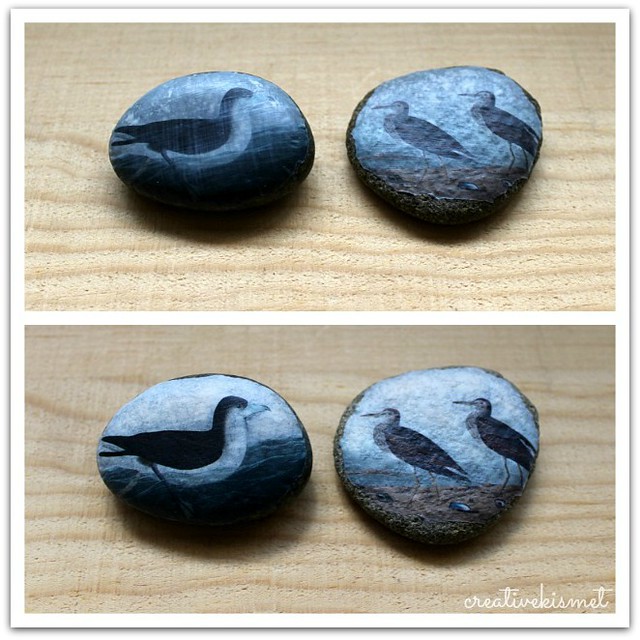
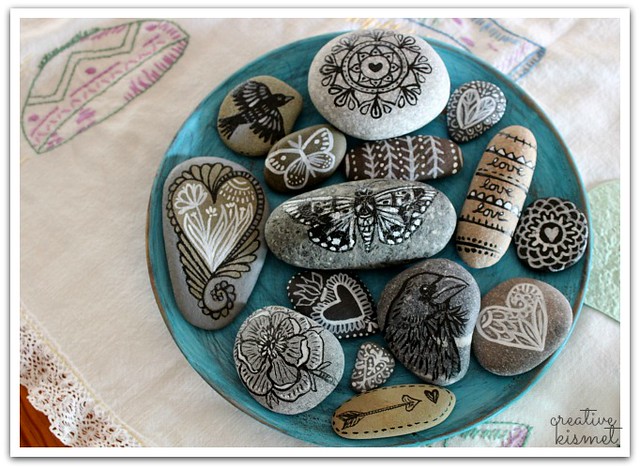
8. Allow to dry for several hours (or over night). It will look a bit murky for a while, but when it is completely dry, the image should be clear and bright. At this point, you could use paint, colored pencils or pen into the image if you like. Maybe glue on a inspiring word and then add another protective coat of matte or gel medium.
If the transfer doesn’t work, soak the rock in warm water for a while and rub off the image.
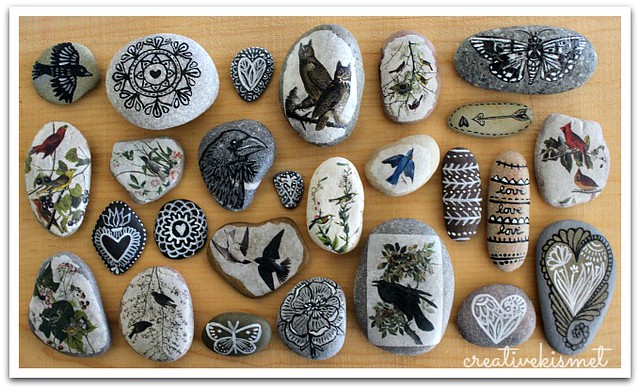
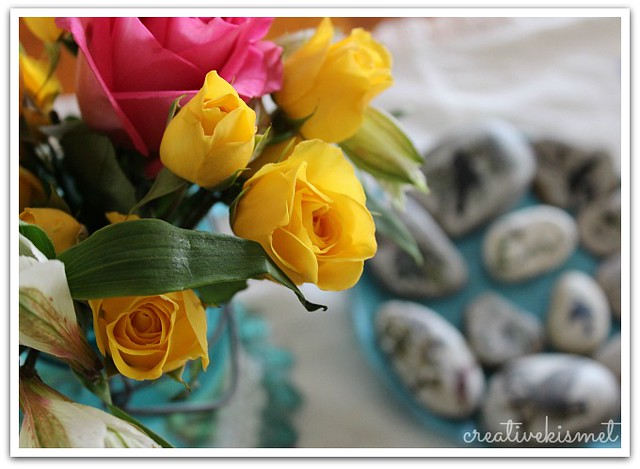
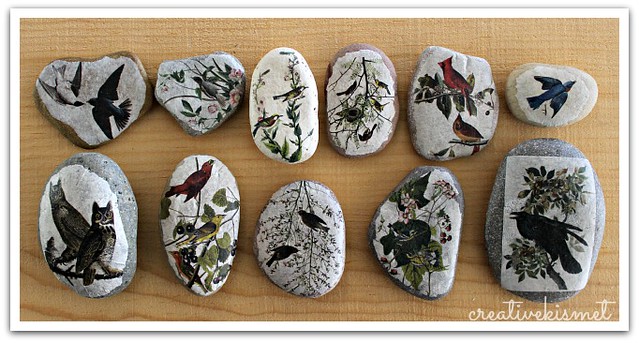
Now go forth and make pretty rocks!!